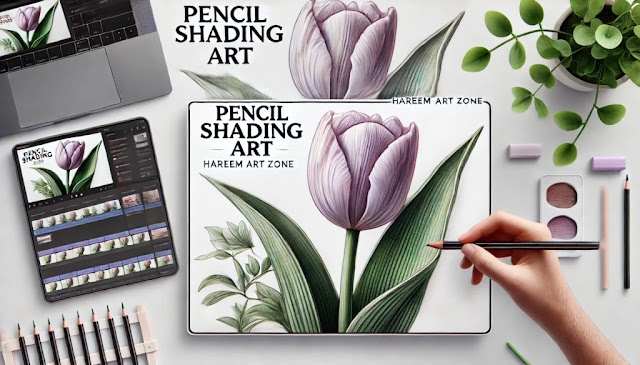
Hareem's art zone: Creating stunning flower drawings with colored pencils is a rewarding artistic endeavor that allows you to capture the beauty of nature on paper. Whether you're a complete beginner or an aspiring artist looking to refine your skills, this comprehensive guide will provide you with techniques and tips to create vibrant and realistic colored pencil flower drawings.
Why Choose Colored Pencils?
Colored pencils are a fantastic medium for beginners due to their accessibility and versatility. Here are some benefits of using colored pencils for drawing flowers:
- Control and Precision: Colored pencils allow for fine details and control over color application.
- Layering Capabilities: You can easily layer colors to create depth and texture.
- Easy to Correct Mistakes: Mistakes can be easily corrected with an eraser or by layering over with another color.
- Portable: Colored pencils are easy to transport, making them ideal for drawing on the go.
Materials You Will Need
Before you start your colored pencil flower drawing, gather the following materials:
- Colored Pencils: A good quality set of colored pencils with a range of colors.
- Drawing Paper: Use smooth or textured paper designed for colored pencil work.
- Pencil Sharpener: Keeping your pencils sharp is essential for detailed work.
- Eraser: A kneaded eraser works well for lifting color without damaging the paper.
- Blending Tools: Options include blending stumps, tortillons, or cotton swabs for smooth transitions between colors.
- Reference Image: A clear photo of the flower you want to draw to guide your work.
Step-by-Step Guide to Drawing Stunning Colored Pencil Flowers
Step 1: Choose Your Flower Reference
Select a flower that inspires you. Popular choices for beginners include daisies, tulips, or roses. Find a clear reference image that shows the flower's details, colors, and shadows.
Step 2: Sketch the Outline
Using a light pencil, sketch the basic outline of the flower on your drawing paper. Keep the lines soft, as they will be covered with colored pencil later. Focus on the general shape of the petals and the placement of the flower in relation to its stem and leaves.
Step 3: Start with the Base Colors
Begin coloring the flower using light pressure to apply the base colors. Start with the lightest colors of the petals and gradually build up to the darker shades. This layering technique creates depth and vibrancy in your drawing.
Tip: Use a circular motion to apply the base color for a smoother finish.
Step 4: Layer and Blend Colors
Once the base layer is complete, begin adding more colors to create shadows and highlights. Observe your reference image closely to identify where the shadows fall and where the light hits the petals.
- Shadows: Use darker shades of the same color or complementary colors to add depth in shadowed areas.
- Highlights: Apply lighter colors or white to areas that catch the light, creating a three-dimensional effect.
Use blending tools to smooth transitions between colors. You can also layer additional colors to enrich the overall look.
Step 5: Add Details
Now it’s time to add finer details to your drawing. Use a sharp colored pencil to draw the texture of the petals and any visible veins. Pay attention to the center of the flower, where you can add intricate details using darker colors for contrast.
Step 6: Draw the Stem and Leaves
Once the flower is complete, draw the stem and leaves using similar techniques. Start with the base colors and layer in darker shades for shadows. Use a different color for the leaves to add contrast and make the flower pop.
Step 7: Final Touches
Take a step back and evaluate your drawing. Add any final touches to enhance details or shadows. Make sure the flower looks balanced and vibrant.
Tips for Creating Stunning Colored Pencil Flower Drawings
- Work from Light to Dark: Always start with light colors and gradually build up to darker shades. This technique allows for more control over the final appearance.
- Use Quality Materials: Investing in good quality colored pencils and paper can significantly impact the outcome of your drawings.
- Practice Layering: Don’t be afraid to experiment with layering colors to create depth and richness. The more you practice, the better you'll understand how colors interact.
- Study Real Flowers: Observing real flowers can provide valuable insight into their structure, colors, and shading, which will enhance your drawing skills.
Common Mistakes to Avoid
- Pressing Too Hard: Avoid pressing too hard with your colored pencils, as this can damage the paper and limit future layering.
- Neglecting Shadows: Shadows are crucial for adding depth. Make sure to observe and replicate shadows accurately.
- Using Too Many Colors: Sometimes, less is more. Stick to a limited color palette for a more cohesive look.
Conclusion: Unleash Your Creativity with Colored Pencils
Creating stunning colored pencil flower drawings is a fulfilling artistic pursuit that can be enjoyed by artists of all skill levels. By following this step-by-step guide and applying the techniques and tips provided, you will be well on your way to mastering the art of colored pencil drawing.
Don’t forget to practice regularly and explore your creativity. With time, you’ll develop your unique style and techniques. So grab your colored pencils, choose your favorite flower, and start creating beautiful artwork today!


Post a Comment